


Ambassador Post: Abigail’s Tilly and the Buttons Marnie Dress
Ambassador Post: Abigail’s Tilly and the Buttons Marnie Dress
In our next ambassador post we welcome back Abigail who has made the Marnie Dress from Tilly and the Buttons. She has made some genius adjustments to make the dress baby bump and breastfeeding friendly. Over to Abigail:
Hey everyone, I am so pleased to be back on the Backstitch blog with my latest make, the Marnie dress from Tilly and the Buttons.

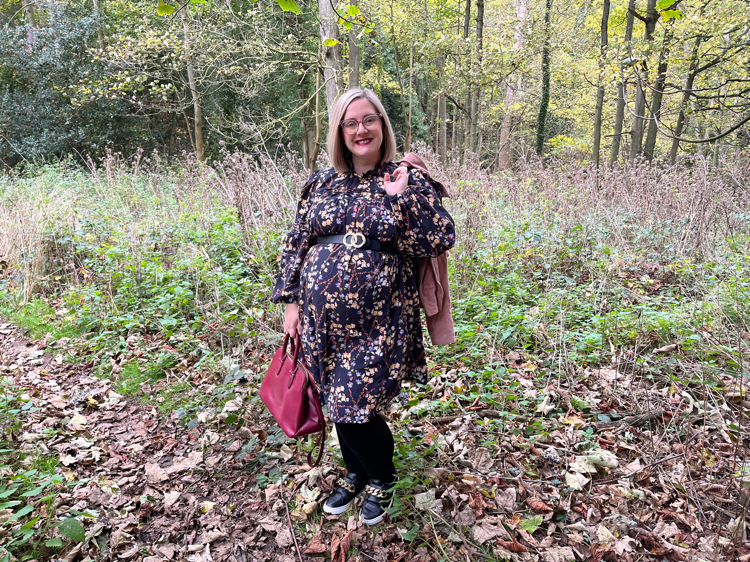
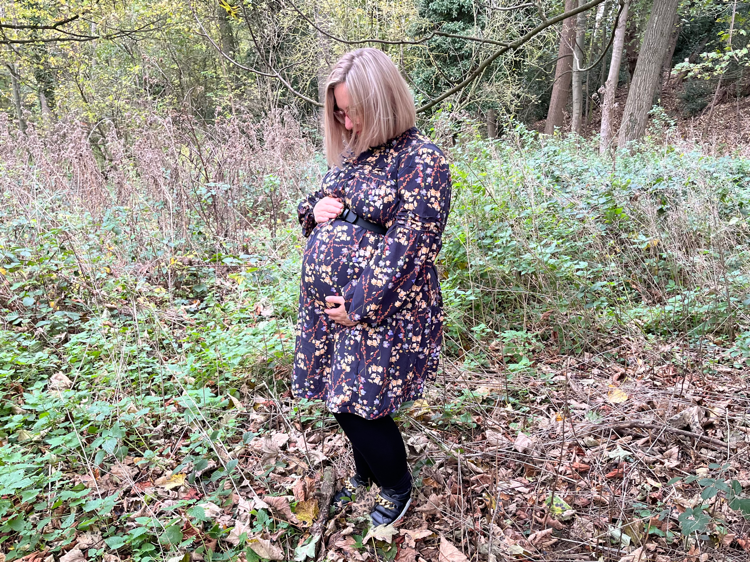
As soon as the pattern was released, I knew I wanted to try it. I opted for a viscose, as I wanted to recreate the floaty dress which is pictured on the pattern envelop. I also knew that this would float nicely over my baby bump. There are so many lovely viscose fabrics stocked at Backstitch, so it did take me a fair while to decide which to use. Eventually I opted for the “Viscose Flowers & Ivy”, as it is a lovely floral fabric (and I do love florals), while still feeling autumnal.
Firstly, I compared the body measurements and the finished garment measurements and decided to base my size solely on bust measurements, as there is a lot of ease in the pattern below the yoke. From this, I also determined that I didn’t need to do any alterations for my bump, as my “bump waist” measurement still came within the ease of the pattern. I therefore opted for a straight size 7.

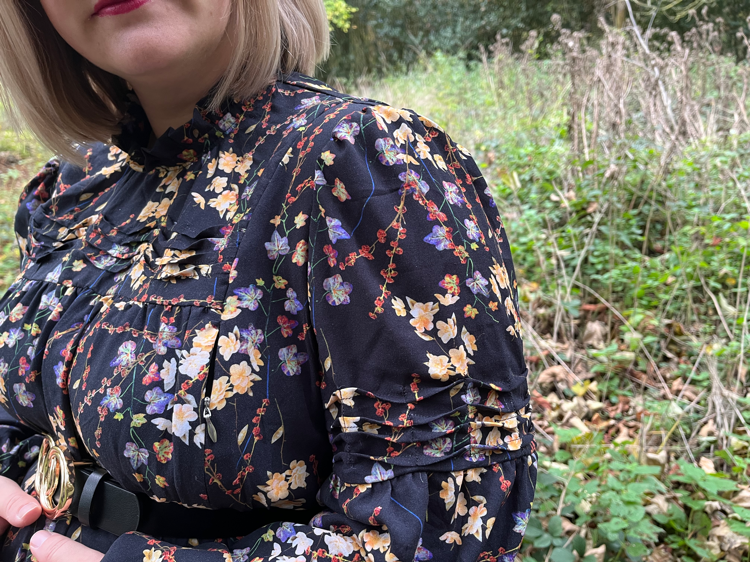
Secondly, I decided which options I wanted in my garment. The Marnie pattern is fantastic as it has many variations, including tucks on the yoke and/or the sleeves, a frill collar, a shoulder ruffle and can be a blouse or a mini dress. I opted for the tucks on both the yoke and the sleeves, frill collar, no shoulder ruffle and for it to be the dress length.
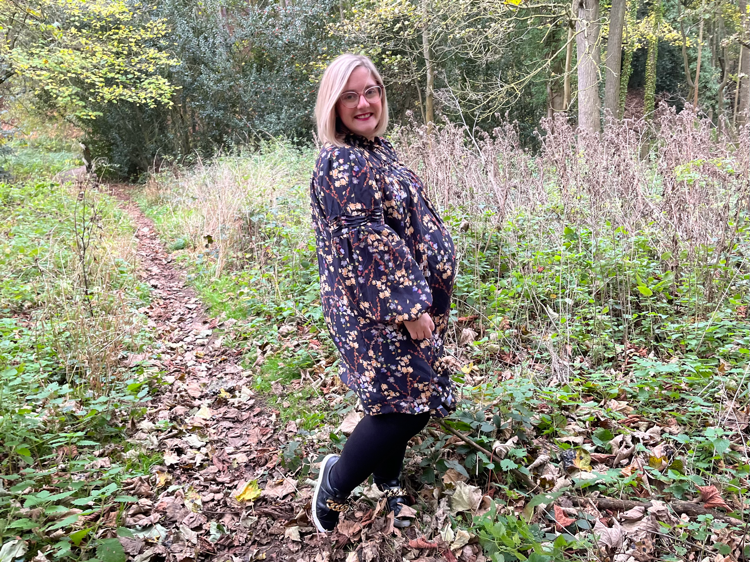
While cutting out, I then decided to lengthen the dress by 2 inches, to ensure that it wasn’t too mini for me. This is a simple adjustment and is done using the length/shorten lines on the pattern. I am only 5 foot 1, so without the baby bump I am sure the original length would probably be ok on me.
The sewing of the pattern is very easy, and the instructions are very clear. The tucks, however, do take a lot of concentration, and should not be rushed. The pattern also says for the version with tucks to use more stable fabrics, such as cotton lawns, poplins, or chambrays (to name a few). Viscose fabric is actually given as an option for versions without the tucks. I did find the fluid nature of the fabric made the tucks harder and therefore more time consuming. That said, I think they look wonderful now they are done.
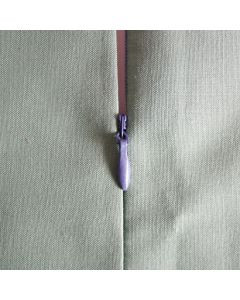
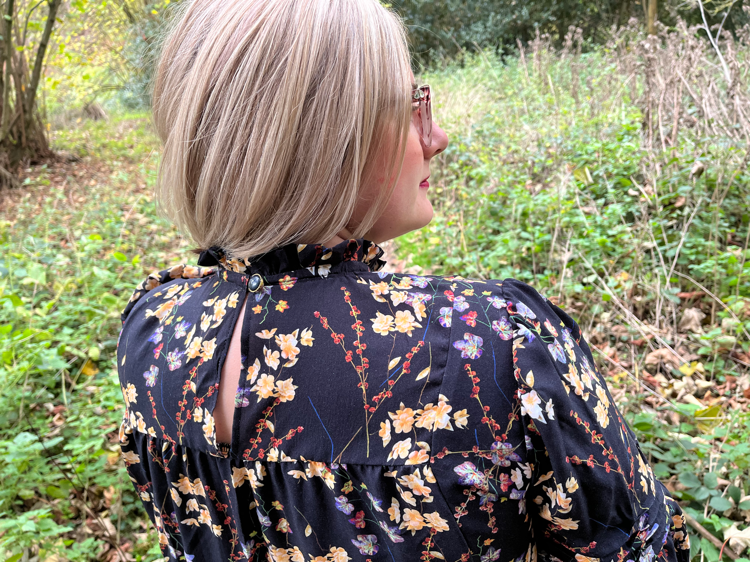
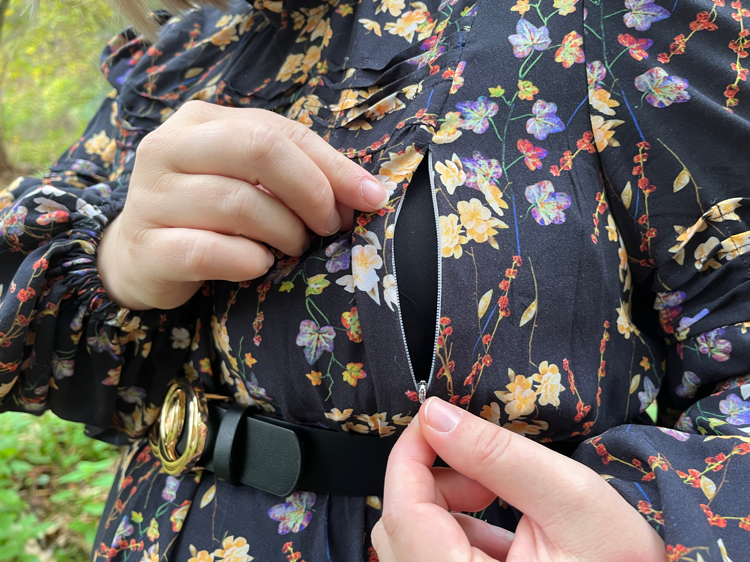
The only other adjustment that I made was a very simple hack for breast access (for breastfeeding), by adding invisible zips to the seam between the middle and side panels at the front. To do this, I lined up the top of the zip with the yoke seam and notch and sewed it at the usual 5/8” seam allowance. This also required the seams to be overlocked separately and pressed open. As the seam is already in existence, this is one of the easiest hacks for breast access. (For reference, the total opening length is 11”).
One thing I feel is missing in the pattern is pockets (because I really love the convenience on pockets), and whenever I am wearing it, I go to put things in my pockets and then remember there are none. I will be adding these into future Marnie dresses. To do this, I will use a pocket pattern piece from another pattern, and then determine where I want the pockets in relation to the hip notches of the Marnie dress (the existing notches will help to make sure all pattern pieces are lined up when putting the dress together).
Hope you all enjoyed my latest make. Overall, I am very happy with it, and I am sure other Marnie dresses will be made in the near future. I especially want a fun Marnie blouse which I can then pair with jeans.
Pattern: Marnie dress by Tilly and the Buttons
Fabric: Viscose Flowers & Ivy: Black
Size: Abigail made a size 7, based on her bust measurement (43.5”). Bump waist 47”, hips 47”.
Adjustments: I lengthen the dress by 2 inches to accommodate my baby bump. I also added invisible zips into the seam between the middle panel and side panels at the front for feeding access.
Notes on construction: Tucks can take a while and need full concentration. I made sure these were not done while tired or rushing.
About Abigail:
Abigail is a sewing blogger living in London. She has been obsessed with sewing since 2014 and when not actually sewing, she is dreaming about doing so!
Instagram: www.instagram.com/SewAbigail/
Website: https://sewabigail.co.uk/