


Ambassador Post: Liz’s Corduroy I AM Sunshine Jeans Pattern
Ambassador Post: Liz’s Corduroy I AM Sunshine Jeans Pattern
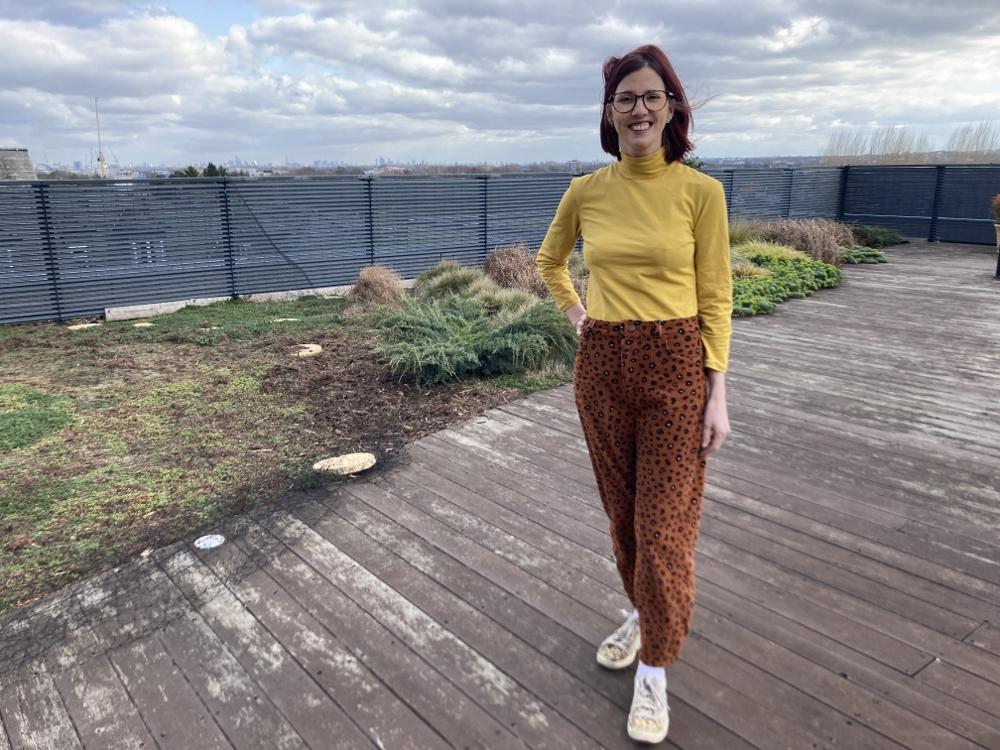
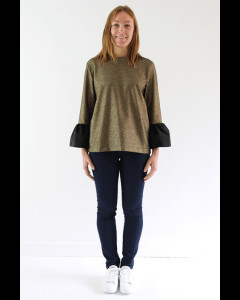
In our third ambassador post Liz has made a I AM Patterns Sunshine Jeans in a chunky corduroy. This corduroy sold out real quick but we have lots of lovely other corduroys that would work a treat. We love these. Over to Liz:
Since I began my sewing journey five years ago I have always wanted to master sewing a pair of jeans. One of the major reasons for learning to sew was to create garments that fit me well particularly a pair of trousers. I have always been terrified of fitting jeans to my body, worrying there would be endless tweaks needed and the construction of the fly equally scared me! So when deciding on my first ambassador post for Backstitch I thought it would be the perfect opportunity to challenge myself and tackle jeans and then I could share my jeans journey and pass on any helpful tips and advice.
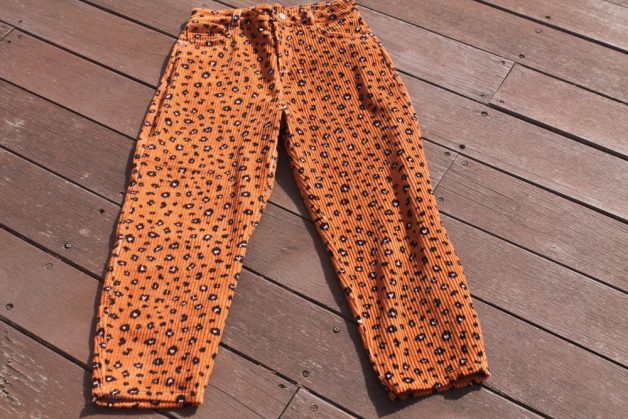
After seeing images of the I am sunshine jeans, including a video on their website, I fell in love with the slouchy version. The pattern can be bought as a paper pattern in sizes 36 to 46 (36: 32 ¼ inch bust, 24 ½ waist, 34 5/8 inch hip measurement; 46: 40 1/8 inch bust, 32 ¼ waist, 42 ½ hip measurement)
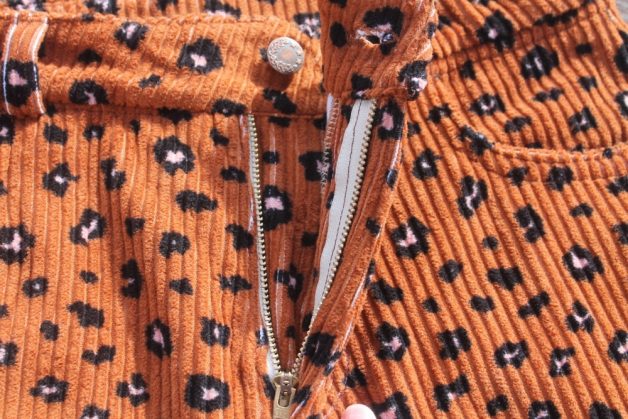
There are two different styles you can sew up: either a tapered leg cut (view A) or a slouchy pair of jeans (view B). They have all the details of classic jeans with a coin pocket, back patch pockets, rivets, a fly front, a waistband with belt loops and contrast topstitching. With the pattern decided I then moved onto one of my favourite sewing tasks: fabric shopping!
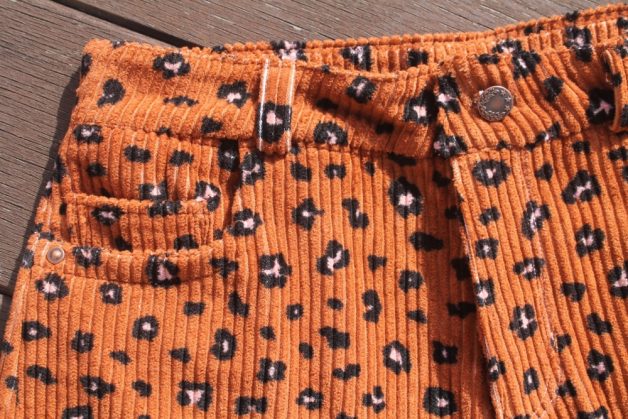
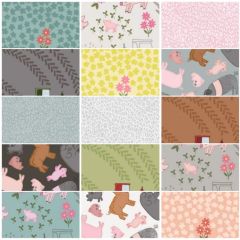
There are so many wonderful fabrics on the Backstitch website I had a hard time narrowing it down but I do love corduroy and I also adore animal print so as soon as I saw the beautiful washed cotton corduroy fabric my mind was made up. I bought 2.5 metres of fabric to allow for any errors when sewing. I decided to sew up view B – the slouchy pair of jeans and as well as purchasing the fabric from Backstitch I was also able to get the jean buttons, rivets, jeans zip and interfacing.
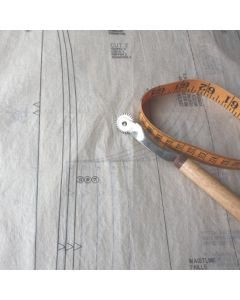
Having bought the paper pattern, the first task I needed to do was trace off the pattern pieces. Be warned there are a lot of pattern pieces to trace and when buying I am patterns paper patterns the pattern pieces are overlaid so tracing is a must! I measured myself before deciding on what size to trace, as my body measurements change all the time and I wanted to ensure I had accurate measurements. My waist and bust measurements put me in the size 40 but my hip measurement put me between a size 36 and 38. I had already decided to toile the pattern so traced the size 40 and knew I could adjust the pattern pieces near my hips if necessary.
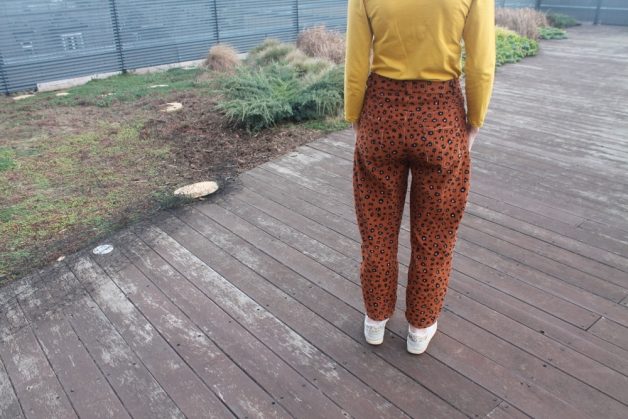
I used a cotton fabric I have had in my stash for years to toile the jeans and decided to only construct the pockets, front and back legs and the back yoke as I felt this would give me enough of an idea of how the jeans would fit when they were finished. When I tried on the toile I could see the back yoke was gaping in the middle, the front crotch had a lot of excess fabric and the bottom area also had some excess fabric. Although I had chosen a slouchy fit I felt there as too much fabric in the hip area too so made the following adjustments:
• I took 1.5cm off the outside seam for the front and back legs
• I took 1.5cm off both yoke pieces
• I took 1.5cm off both centre back seams
• I took 1cm off the inside seams on the front and back legs
• I removed 1cm from the waistband which meant I might potentially have excess to remove once my jeans were constructed. I always add extra length onto the waistband when sewing up trousers or skirts as I have found in the past some waistbands are too short so I like to have extra to adjust if necessary.
To make my adjustments I used wonder clips and stood in front of a large mirror in my bedroom. This meant I could see any excess fabric and I clipped the excess fabric away before trying the toile on again. I am really happy with the adjustments I have made and feel the jeans fit me nicely. They feel comfortable, not too snug and the shape is exactly what I wanted too.
With my toile completed, adjustments made to the pattern pieces I was ready to cut out my fabric. I pre-washed the corduroy on a 30c cycle and let it dry naturally. I always iron fabric before cutting it out to ensure I don’t have any creases that may distort the fabric when it is being cut out. As it is a corduroy fabric I made sure the fabric pile was going the correct way before laying out my pattern pieces. I used pins to attach the pattern pieces before cutting out.
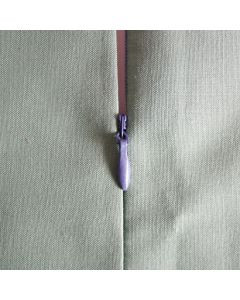
I knew the construction would be fiddly in places so I read through the instructions a couple of times and headed over to the I AM Patterns website to look at the sew a long they have for the pattern too. I like to break down projects that feel daunting into manageable chunks. I spent a couple of weeks sewing up the jeans which felt more achievable and meant the trickier parts like inserting the zip fly could be tackled when I felt well rested and focused. I spent a lot of time sewing parts of the jeans, clipping them together and trying them on to ensure I was happy with the fit.
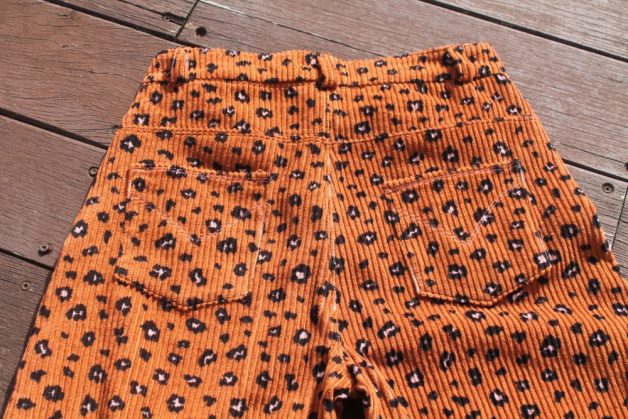
You construct the back yoke and trouser pieces first which felt exciting as I could see a main part of the jeans from the beginning which was motivating. There is a lot of topstitching which I decided to use a mixture of pink topstitching thread and brown to match the animal print corduroy.
I AM Patterns suggest adding rivets to the pocket corners which is something I haven’t done before. I was a little bit nervous trying to do this to such a thick part of the jeans but I used my Prym pliers to apply a small hole first which meant adding the rivets was a much easier task and not as daunting as I had made the task to be in my head!
The pattern comes with an instruction booklet that has French instructions and English instructions with some images to help along the way. The pattern is described as being suitable for an intermediate sewist which is something I would agree with. There are a lot of steps to follow, the zip fly construction is a little bit fiddly and there is a lot of top stitching too. I AM Patterns instructions don’t tend to be as detailed as some independent pattern companies but having the sew a long to use as well proved beneficial.
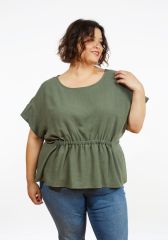
The corduroy is beautifully soft and feels lovely to wear. It was enjoyable to cut out and sew with but did leave my sewing space a little bit fluffy at times! I am delighted with my finished Sunshine jeans and will enjoy wearing them with my many blouses and tops.
Pattern: I AM Sunshine Jeans
Fabric: Cotton Corduroy (now sold out) alternative corduroys can be found here.
Size: Liz measures Bust 34”, waist 27”, hips 25” Height 5’5”. Liz made the size 12.
Adjustments: See body of post for fit adjustments.
Notes on construction: The zip fly was a little bit tricky but I found breaking down each step and reading it through a couple of times whilst using the images to help made it straight forward. There is also a sew-a-long on the I AM patterns website.
Notes on future makes: Next time I make the jeans I will add an inch onto the length as I would prefer the jeans to be slightly longer. There are no lengthen or shorten lines on the patterns pieces so I would use another trouser pattern I have to work out the best place to lengthen or shorten the pattern.
About Liz:
Liz is a Mum of two girls and lives in London. An assistant head during the week she also has her own cake business that she runs alongside teaching. Liz started learning to sew in 2017 and has fallen head over heels with the hobby.
Instagram: https://www.instagram.com/thebakerthatsews/