


Ninni Culottes Named Clothing & Ogden Cami True Bias: A Faux Jumpsuit? Pattern Review
Ninni Culottes Named Clothing & Ogden Cami True Bias: A Faux Jumpsuit? Pattern Review
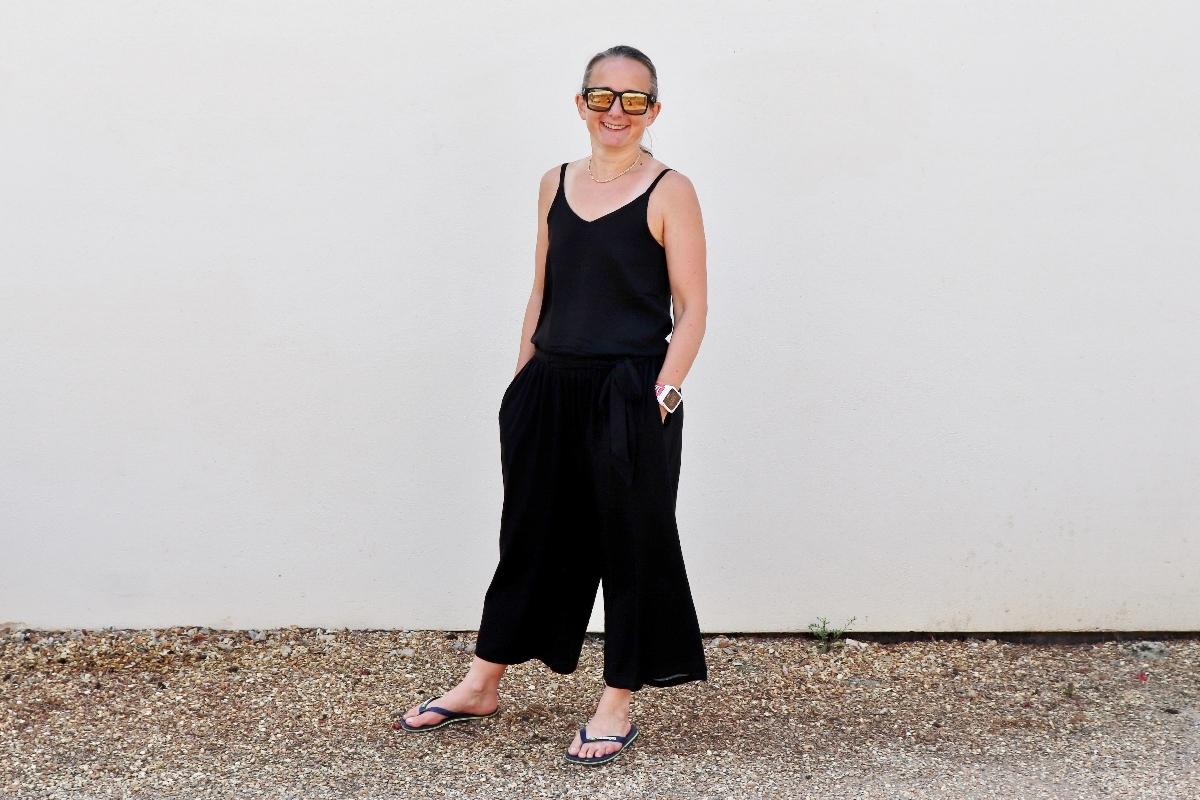
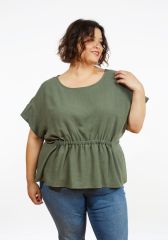
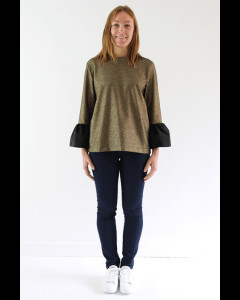
Oh boy, I love this outfit… the Named Clothing Ninni Culottes and the True Bias Ogden Cami. I had these items on my Make Nine 2020 to be made together in a black viscose twill. The plan being to add waist loops to the culottes, make a sash belt and wear the whole ensemble as a faux jumpsuit.
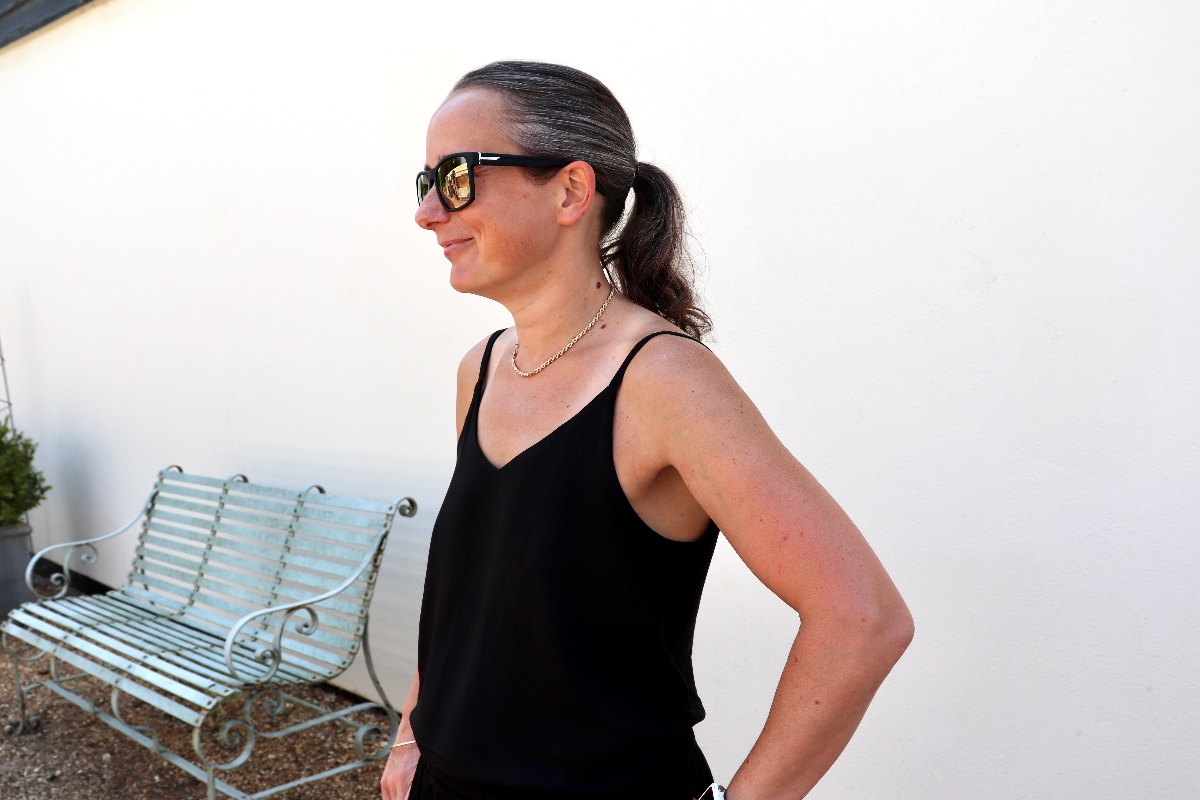
I made the culottes back in May 2020 in what I now call ‘lockdown proper’. An immediate hit, I wore them constantly. Cool, comfy and stylish… classic secret pyjamas. It then took me until July 2021 to make the Ogden Cami and the sash belt. But oh, what a fab pattern the Ogden is… I know you’ve all been telling me all this time but it sure is quick and easy and wears real cute!
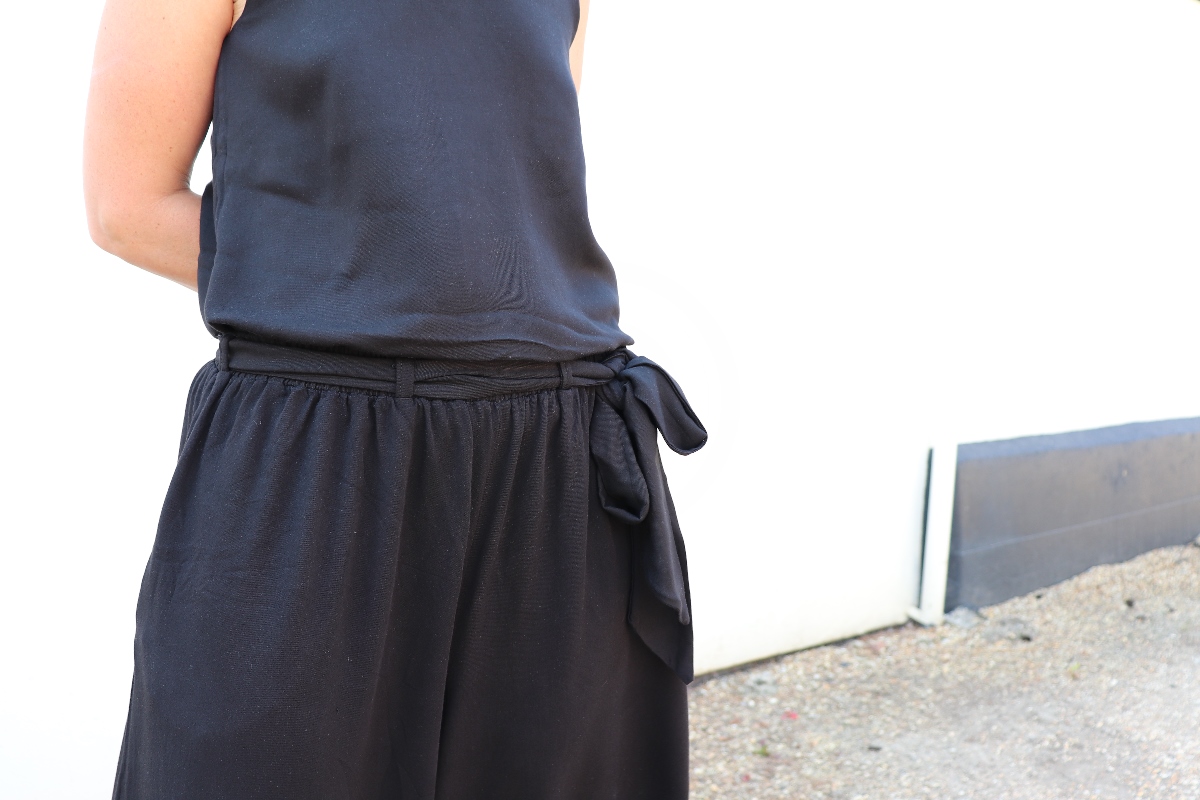
Together they are a roaring success. I don’t feel they really have the desired effect of a jumpsuit… I’m not entirely sure why but I think that it’s because the Ninni has a fair bit of gathering on the waist and the Ogden is smooth at this point, so they just don’t look like they are one piece, but it doesn’t matter. They still wear really well as a complete outfit.
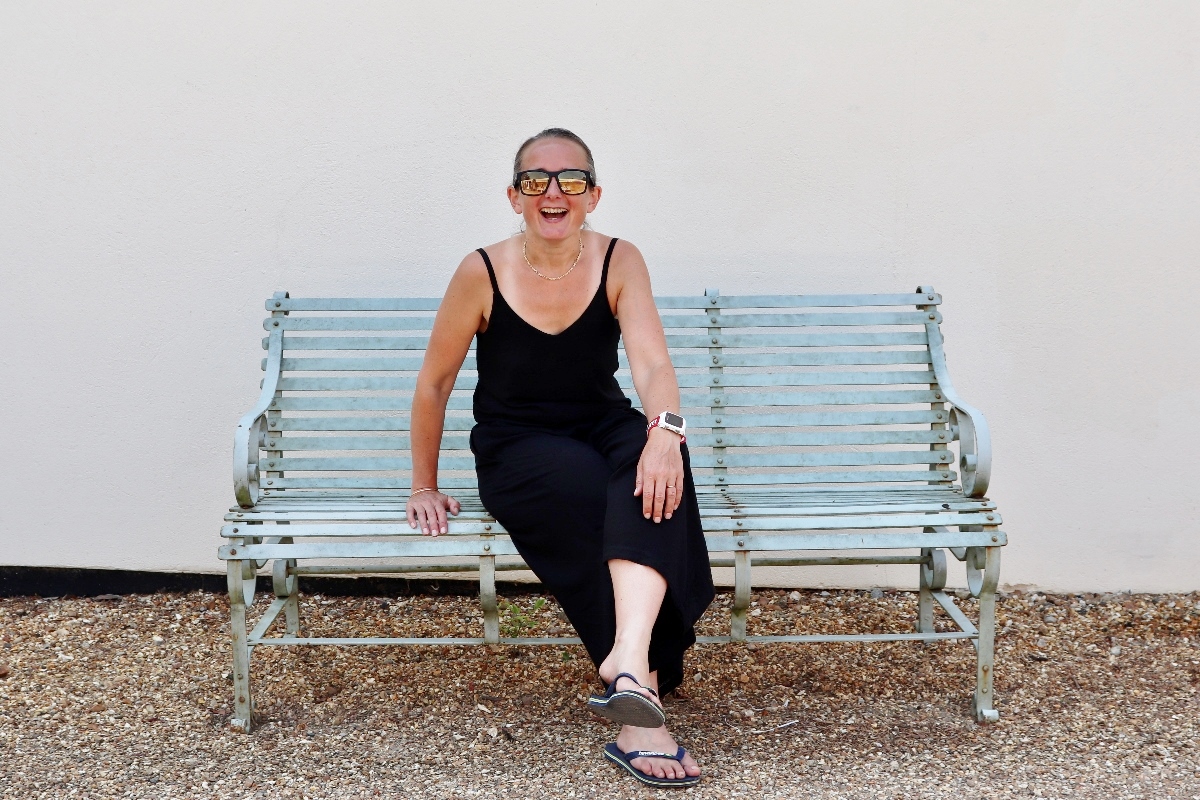
They work nicely as a casual day look and will easily glam up for evening with some jewellery and a shoe change. I would definitely make both of these pieces again. I can see the Odgen being made over and over as it is really comfy and will work well with all trousers and skirts. I made a couple of amends to both garments so full details below.
Pattern: Named Clothing Ninni Culottes
Fabric: Viscose Twill in Black. This pattern is written for knit/jersey fabrics but they make up really well in woven. There is so much ease that you don’t need to adjust sizing.
Size: I measure Bust 33.5”, Waist 30”, Hip 39”, Height 5’5”. I made the UK 12.
Adjustments: I added belt loops to take the sash belt.
Notes on construction: Super Super simple. A great beginner pattern.
Pattern: True Bias Ogden Cami
Fabric: Viscose Twill in Black
Size: I measure Bust 33.5”, Waist 30”, Hip 39”, Height 5’5”. I made the size 4.
Adjustments: I lengthened the body 2” at the lengthen/shorten line. I often do this on tops as I am a big fan of tucking in and don’t like tops to pop out when I reach for something off a high shelf!
Notes on construction: I sewed this on the overlocker so ignored the pressing open at the side seams and didn’t hem the bottom of the lining but just overlocked the seam instead.
Notes on future makes: Mark (or add a safety pin?) on the back lining of the garment as it is cut out. So that I can actually add a label at the back… it is advised to add a label or thread to mark which is the back and the front once finished but it is so, so hard to tell that now I am scared I will sew the label on the wrong side!
The sash was self drafted. It is 79” long and 3” long. It is cut on the straight with diagonal cut ends. I made it inside out and turned it in a centre seam.